 Save
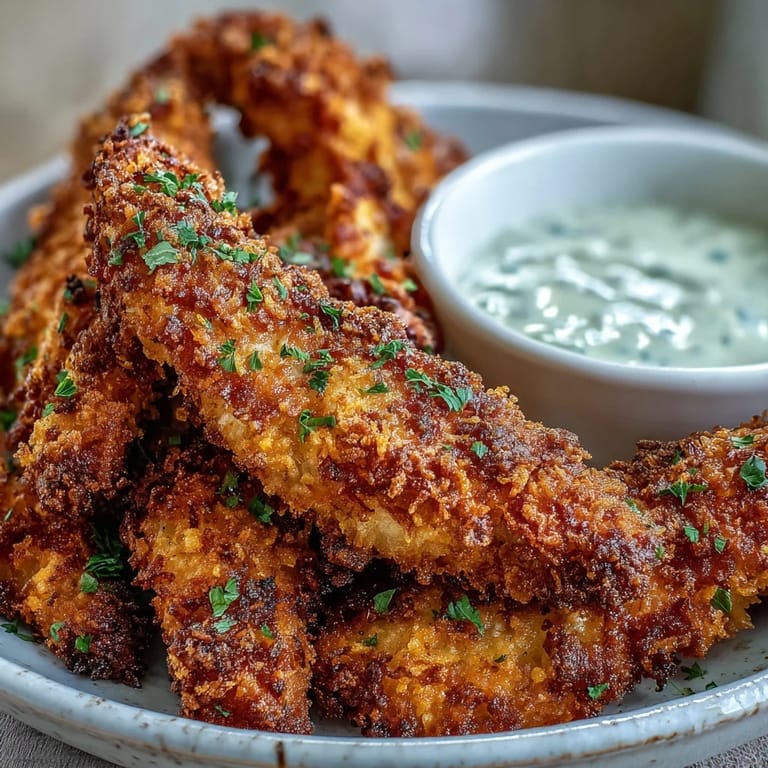
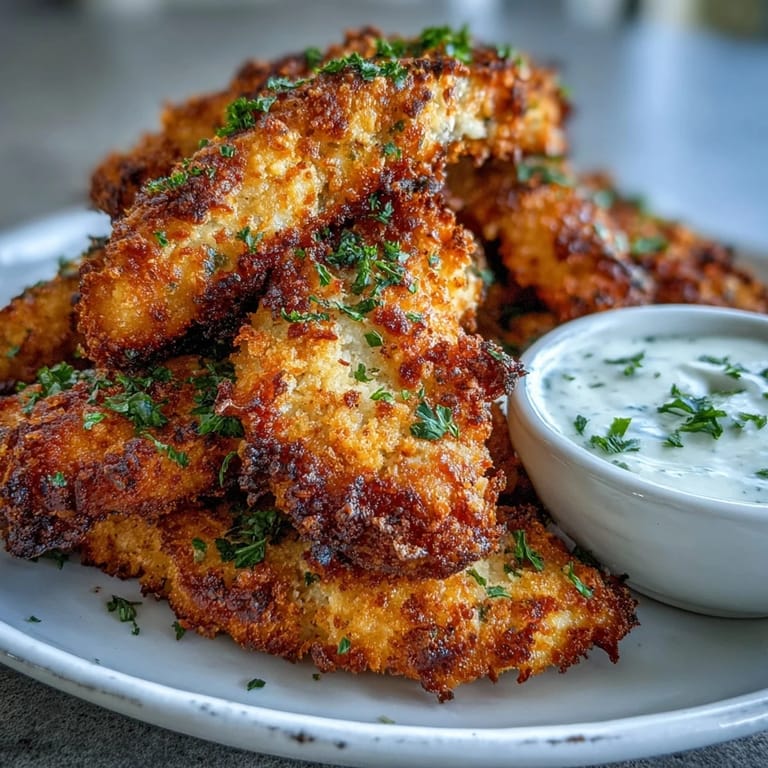
Save My kitchen smelled like a fried chicken diner the afternoon my nephew declared these were better than the frozen ones his mom usually buys. That moment made me realize how much difference a homemade crust makes, especially when you're trying to win over a skeptical nine-year-old. The panko catches the heat just right, turning golden and impossibly crispy while the chicken stays tender inside. I started making these on lazy weeknights because they came together faster than ordering delivery, and somehow tasted like I'd actually tried.
There's a reason these showed up at my friend Sarah's potluck last spring, and why people asked for the recipe before they'd even finished their first piece. I'd made a double batch thinking I was being ambitious, and watched them disappear in twenty minutes while the potato salad sat untouched. Seeing someone go back for thirds, dipping each tender in ranch and actually smiling about it, reminded me that the simplest foods often bring the most genuine joy to a table.
Ingredients
- Chicken tenders: Buy them pre-cut if your store has them, or slice your own from chicken breasts for better control and usually a better price.
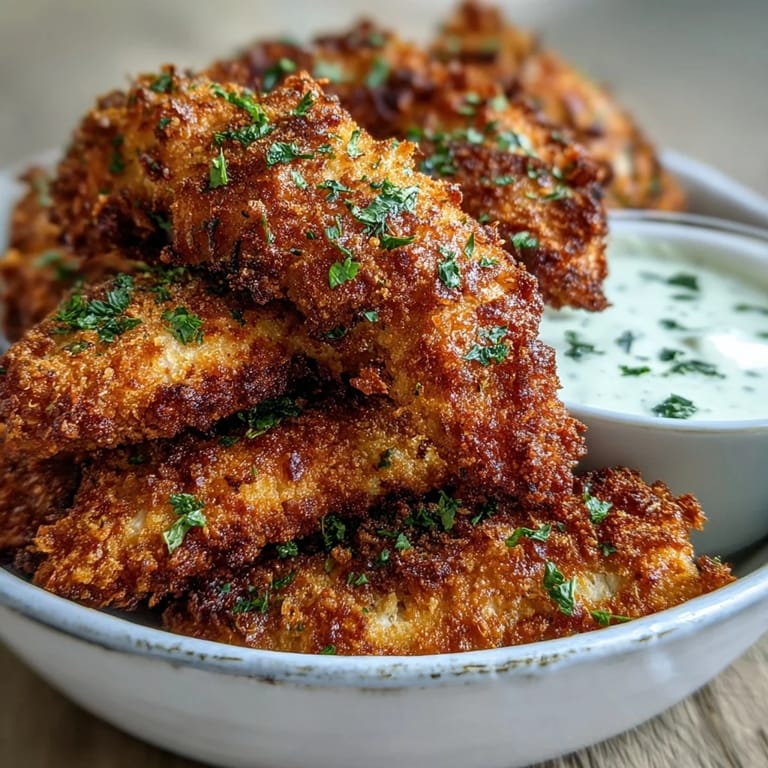
- Panko breadcrumbs: The secret weapon here—their larger flakes create that restaurant-style crunch that regular breadcrumbs just can't match.
- Ranch seasoning mix: A single packet handles all the flavor work, though you can swap for homemade ranch powder if you want to skip the packaged stuff.
- Paprika, black pepper, garlic powder, onion powder: These aren't filler; they deepen the ranch flavor and add layers so it doesn't taste one-dimensional.
- Eggs and milk: The binding agent that makes the coating stick and creates that golden exterior, even using non-dairy milk works beautifully here.
Tired of Takeout? 🥡
Get 10 meals you can make faster than delivery arrives. Seriously.
One email. No spam. Unsubscribe anytime.
Instructions
- Heat your oven and prep your stage:
- Crank the oven to 425°F and line your baking sheet with parchment paper or give it a light spray. This temperature is the sweet spot where chicken cooks through without the outside burning.
- Build your wet and dry stations:
- Whisk eggs and milk in one shallow bowl until combined, then mix all your dry ingredients in another bowl, making sure the seasonings spread evenly through the panko. Shallow bowls matter more than you'd think because your hands stay cleaner and the coating process goes faster.
- Dry your chicken properly:
- Pat each tender with paper towels until they're genuinely dry, not just damp. Moisture is the enemy of crispiness, and this small step makes a visible difference.
- Coat with intention:
- Dip each tender in egg mixture, let the excess drip away, then roll it in panko and press gently so the coating actually adheres instead of flaking off. You're building layers here, not just dusting.
- Arrange and spray:
- Space tenders evenly on your prepared sheet so hot air can circulate around all sides. Give them a light misting of cooking spray on top, which sounds like a small thing but creates that extra level of golden crispiness you're chasing.
- Bake with a flip:
- Bake for 18 to 20 minutes, flipping halfway through so both sides get equally golden. The chicken is done when it reaches 165°F internally and the coating sounds crispy when you tap it.
- Finish with garnish:
- Scatter fresh parsley over the top if you have it, which adds a pop of color and a fresh brightness against the rich panko crust.
 Save
Save My teenage daughter requested these for her birthday dinner instead of going out to eat, which told me everything I needed to know about how much this recipe had become part of our kitchen rhythm. That meal turned into three generations around the table laughing and eating without anyone checking their phones, and that's when food becomes something bigger than just dinner.
The Panko Advantage
Standard breadcrumbs are fine if that's what you've got, but panko is genuinely different because the larger crumbs create air pockets that get crispier and stay crispier longer. Once you try a batch with panko, going back feels like settling. If you're watching gluten, gluten-free panko exists and works just as well, though you might need an extra minute or two in the oven.
Making It Your Own
The ranch-panko base is solid, but this recipe welcomes customization based on what your household actually enjoys. I've added cayenne for heat, Italian seasoning for an entirely different direction, and even tried lemon zest once when I was feeling creative on a Wednesday afternoon. The structure stays exactly the same; you're just playing with the flavor profile, which is the beauty of a flexible recipe like this.
Serving and Storage Wisdom
These are obviously best served hot and crispy straight from the oven, but they hold up surprisingly well at room temperature for a couple hours, making them genuinely decent for a packed lunch or party setting. Leftover tenders keep in an airtight container for three days in the fridge, and reheating them in a 375°F oven for five minutes restores most of their crispiness.
- Serve alongside classic ranch dressing, but also try them with hot sauce, honey mustard, or even a lemon aioli if you want to get fancy.
- These pair beautifully with oven fries, a simple green salad, or roasted vegetables if you want to round out the meal with something fresher.
- Double the batch without hesitation because they freeze beautifully before or after cooking, turning a 35-minute meal into a genuine weeknight lifesaver.
 Save
Save These chicken tenders have become the recipe I make when I want to prove that simple, honest food made with intention tastes better than shortcuts ever will. They're the kind of dish that works for picky eaters and dinner guests alike, which is exactly the kind of recipe worth keeping close.
Recipe FAQs
- → How do I get the crispiest coating?
Lightly spray the tops with cooking spray before baking, and consider using a wire rack over the baking sheet for maximum air circulation and crunch.
- → Can I make these ahead of time?
Yes, bread the tenders up to 4 hours ahead and refrigerate. Bake fresh when ready to serve for optimal crispiness.
- → What dipping sauces work best?
Classic ranch dressing is ideal, but honey mustard, barbecue sauce, or garlic aioli also complement these tenders beautifully.
- → Can I air fry these instead?
Absolutely. Cook at 400°F for 10-12 minutes, flipping halfway, until golden and cooked through to 165°F internally.
- → How do I store leftovers?
Refrigerate in an airtight container for up to 3 days. Reheat in a 375°F oven for 10 minutes to restore crispiness.