 Save
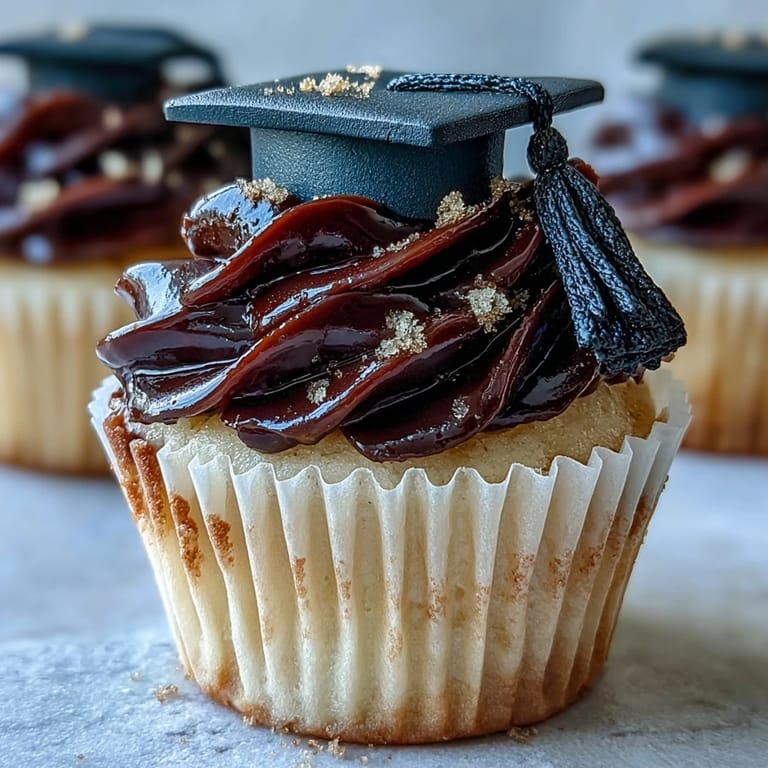
Save Metallic gold dust glimmered under my kitchen light as I set out to surprise my little cousin for her graduation. The music from her party playlist—a blend of pop and dance—played in the background as I kneaded fondant and laughed at my own attempts to make perfectly square graduation caps. Butter and sugar swirled together, filling the room with that unmistakable aroma of celebration. It was the kind of baking project where you end up with powdered sugar on your nose and a story to match the sweets.
Last June, as balloons bobbed on the porch and relatives flooded the yard, these cupcakes stole the show among all the treats. Older cousins took photos of each cupcake before picking out their favorite cap, and my aunt cheekily demanded to know my secret to such golden tassels. Sharing them was a small, sweet way to say: you did it!
Ingredients
- All-purpose flour: Sift before measuring to keep the cupcakes light—clumpy flour has ruined a batch for me before.
- Baking powder: The real key for a gentle lift, so don’t skip or swap this for soda.
- Salt: A pinch rounds out the sweetness—I once forgot it and every bite tasted flat.
- Unsalted butter: Let it come to room temp or you risk lumps in both cake and frosting.
- Granulated sugar: Creaming until it's pale really makes a difference in texture.
- Eggs: Bring to room temp for a smooth batter; cold eggs can curdle the mix.
- Vanilla extract: Good vanilla is the soul of this recipe—spend a little extra if you can.
- Whole milk: Adds moisture and richness—sub skim only if you must.
- Powdered sugar: Sift for the fluffiest frosting—lumps are the enemy.
- Black & gold fondant: Patience is key; fondant can be sticky if over-handled, so dust surfaces with cornstarch.
- Edible gold dust: When you want to wow, don’t hold back on this sparkle.
- Cornstarch: Just a pinch keeps fondant from sticking, making shaping easier (my hands thank me every time).
- Edible adhesive or water: Holds fondant elements together—don’t overdo it or things get glossy.
Tired of Takeout? 🥡
Get 10 meals you can make faster than delivery arrives. Seriously.
One email. No spam. Unsubscribe anytime.
Instructions
- Line your muffin tin:
- Preheat to 350°F (180°C) and plop cupcake liners into the tray, ready to catch every drop of batter.
- Mix the dry ingredients:
- Whisk flour, baking powder, and salt until it’s all whisper-light and evenly combined.
- Cream butter and sugar:
- Beat until fluffy and pale—the mixer should hum and the mixture should look cloud-like.
- Add eggs and vanilla:
- Crack in eggs one by one, blending until smooth, then swirl in vanilla for that signature bakery smell.
- Combine wet and dry:
- Add flour in thirds, alternating with milk, and stir until just mixed—stop as soon as you see no flour streaks.
- Bake the cupcakes:
- Scoop evenly into liners and bake for about 20 minutes, until golden and springy; cool thoroughly.
- Make the buttercream:
- Whip butter with powdered sugar, milk, vanilla, and salt till soft peaks form—resist the urge to taste-test too much.
- Pipe the frosting:
- Decorate fully cooled cupcakes with sky-high swirls or rustic spreads; either way, they’ll look celebratory.
- Shape the fondant caps:
- Roll black fondant and cut crisp little squares, then press small balls for the base and fix with a dab of edible glue.
- Attach the tassels:
- Roll gold fondant into ropes and top each cap with a shiny button, dusting extra sparkle if you’re feeling fancy.
- Crown your cupcakes:
- Gently perch a fondant cap atop each cupcake—step back and admire your miniature masterpieces before serving.
 Save
Save 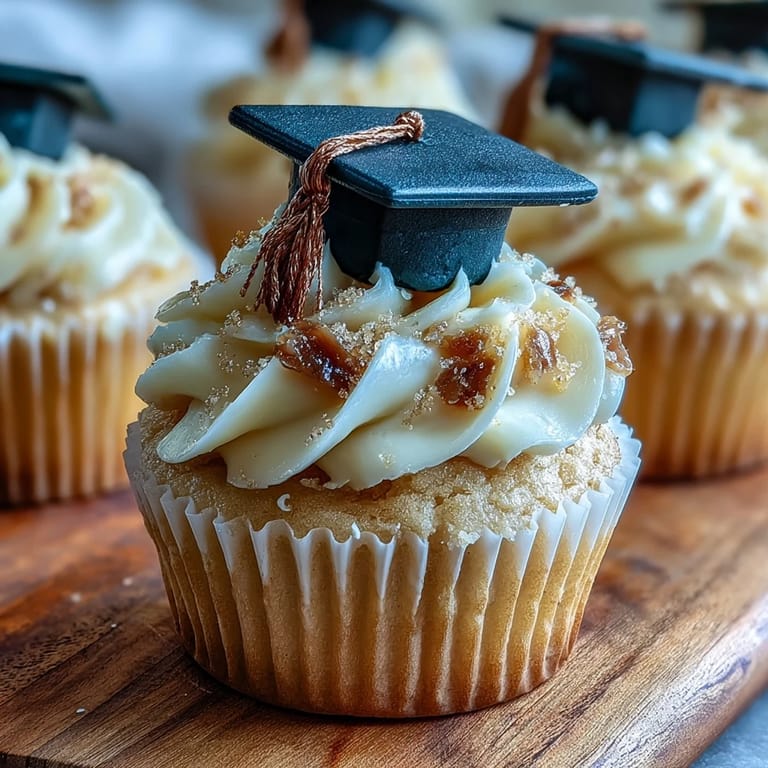 Save
Save There was a hush as the grads gathered for photos, each one carefully choosing a cupcake with a cap in their school’s colors—it felt like every handmade detail told its own little story and made the moment more special.
Shaping Picture-Perfect Fondant Caps
Rolling fondant out to the proper thickness tests your patience, but too thin and the caps flop. Using a sharp knife or pizza cutter for neat edges made all the difference, and if anything sticks, a little cornstarch is your savior.
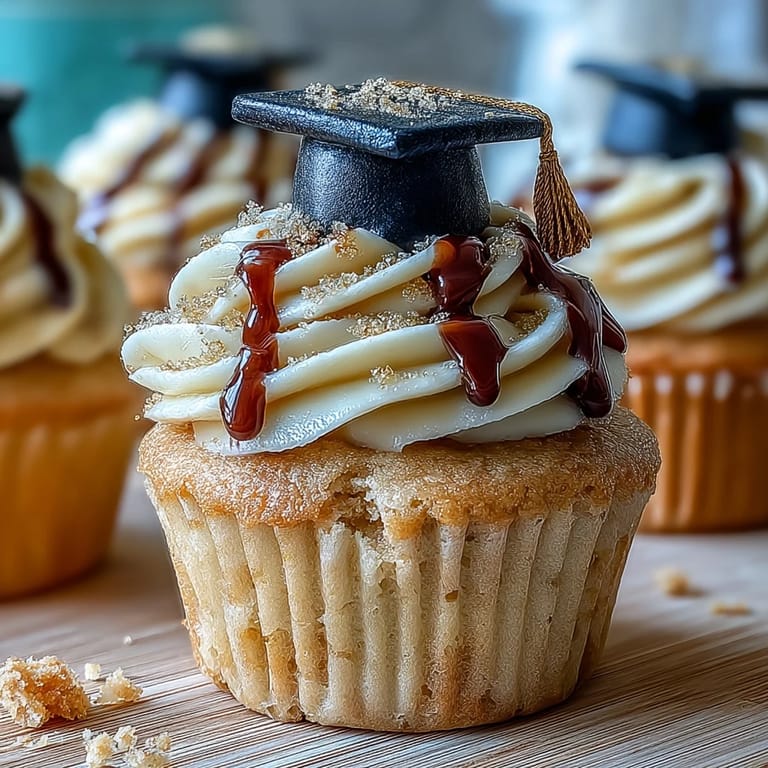
Getting Buttercream Texture Just Right
After a few batches, I found that beating buttercream for at least five minutes adds air—and makes piping rosettes much easier. If it’s too stiff, a drop more milk loosens it instantly.
Handling Graduation-Day Chaos
Balancing these delicate toppers while guests stream through your kitchen is its own comedy. I used baking trays to carry finished cupcakes out, and if the kitchen gets warm, set the fondant caps in the fridge for a minute or two.
- Don’t try to rush assembly or the buttercream may melt.
- Store finished cupcakes in a cool place until serving.
- If you’re multitasking, make fondant caps the night before.
 Save
Save  Save
Save May every bite bring a little celebration to your table, no matter who’s graduating. I hope these cupcakes make your milestone a little sweeter and a lot more memorable!
Recipe FAQs
- → Can I make the cupcakes ahead of time?
Yes. Bake and cool the cakes fully, then keep them in an airtight container at room temperature for up to 24 hours. Add buttercream and fondant caps just before serving for best texture.
- → How do I prevent buttercream from weeping?
Use softened but not melted butter, beat until smooth, and add powdered sugar gradually. Chill the buttercream briefly if it becomes too soft before piping to help it hold shape.
- → Best way to shape fondant caps?
Dust your surface with cornstarch, roll black fondant thin, cut 1.5 in (4 cm) squares for tops and form small rounded bases by flattening balls. Use a little water or edible adhesive to join pieces cleanly.
- → How do I make the gold tassels shine?
Roll gold fondant into thin ropes for tassels and attach with a touch of water. For extra sheen, gently brush with edible gold dust mixed with a drop of clear alcohol or lemon extract.
- → Can I swap ingredients for dietary needs?
Yes. Use dairy-free butter and plant milk to make the cupcakes vegan-friendly and choose egg replacers suited to baking. Check fondant labels for animal-derived ingredients.
- → Any tips for even baking?
Portion batter evenly using an ice cream scoop, tap the tin once to remove air pockets, and test doneness with a toothpick at 18 minutes to avoid overbaking.