 Save
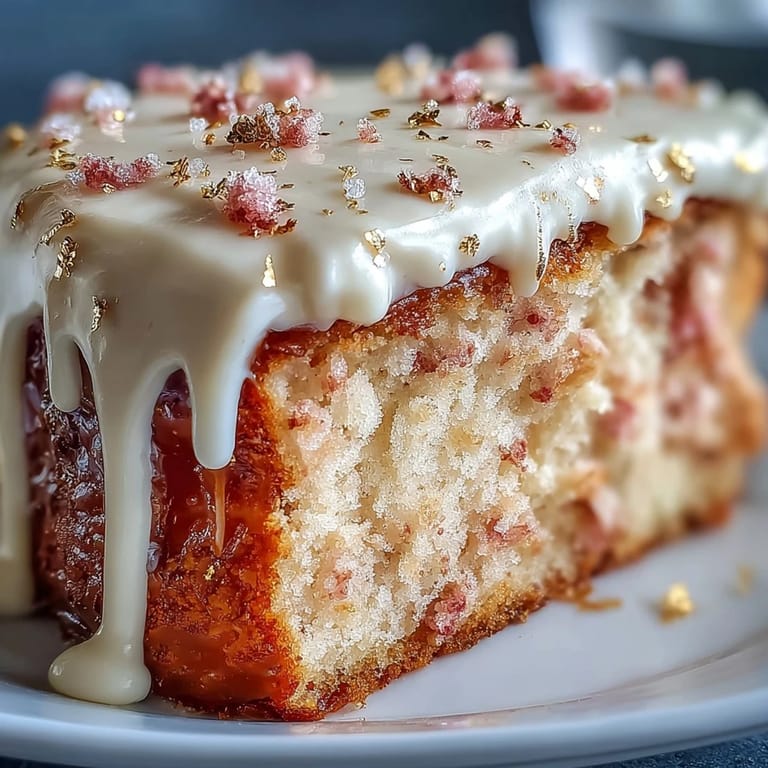
Save When I first attempted a Rosé Velvet Cake, it was less a romantic whim and more a challenge on a gray afternoon, driven by a bottle of rosé lingering after brunch. I vividly recall watching the pale pink batter swirl amidst clouds of flour, the scent of berries and vanilla making me feel a little mischievous about turning wine into dessert. The gold drip decoration started as pure curiosity: Could a simple cake ever truly look like a celebration in and of itself? From kitchen countertop to final flourish, this recipe grew alongside my skills, adding a splash of elegance to an ordinary day. The result reminded me why baking for others feels a little like giving a toast in cake form.
Baking this cake for my friend’s bridal shower became an improvisational comedy when someone tried to help and accidentally dusted flour over my phone. The kitchen filled with nervous laughter, everyone sneaking spoonfuls of frosting while we debated the ideal shade of pink. I’ll always remember the moment the cake emerged from the fridge, edged with gold, and how we all collectively gasped. It didn’t matter that one layer was a bit wonky from a hasty stacking—somehow, it made the cake feel even more ours. It now carries the memory of shared hands and happy chaos whenever I make it.
Ingredients
- All-purpose flour: Provides the structure for a tender crumb; always fluff and spoon the flour into your cup for accurate measurement.
- Cornstarch: Softens the texture for a true velvet feel—you won't want to skip this little addition.
- Unsweetened cocoa powder: Gives the subtle depth of classic velvet cakes; use quality cocoa for balanced flavor.
- Baking soda: Helps the cake rise and react with the acidic ingredients, making for an airy layer.
- Salt: A small pinch brings out the warmth in the rosé and balances sweetness.
- Unsalted butter: Room temperature is key for creaming into a light, luscious batter; give it a poke—if it's soft but not melted, it's ready.
- Granulated sugar & light brown sugar: This combo adds moisture, flavor, and the prettiest crumb; brown sugar brings a mild caramel hint.
- Large eggs: Used at room temperature to avoid a curdled batter, and to keep everything fluffy and smooth.
- Rosé wine: Infuses the cake with a subtle floral fruitiness; use your favorite, but avoid overly sweet types.
- Buttermilk: Its tang softens the cake and assures moistness—shake before pouring for best texture.
- Vanilla extract: A simple touch that balances every other note; real vanilla makes the difference here.
- Pink gel food coloring (optional): Just a dab at a time—start light and build to your dream shade.
- Cream cheese: Must be at room temp for a smooth, lump-free frosting; set it out a good hour before you begin.
- Confectioners’ sugar: Always sift before adding to the frosting to avoid sneaky lumps.
- White chocolate chips: These melt into a silky ganache for the signature drip; keep the bowl dry to prevent seizing.
- Heavy cream: Adds shine and keeps the drip flowing smoothly; pour slowly when mixing into the chocolate.
- Edible gold luster dust: Just a bit for pure party magic; mix with clear vodka or lemon extract for that metallic gleam, not water.
Tired of Takeout? 🥡
Get 10 meals you can make faster than delivery arrives. Seriously.
One email. No spam. Unsubscribe anytime.
Instructions
- Prep your pans:
- Grease three 8-inch cake pans and line the bottoms with parchment so nothing sticks, giving the sides a gentle dusting of flour as an extra fail-safe.
- Mix the dry ingredients:
- Inhale as you sift flour, cornstarch, cocoa, baking soda, and salt together—the aroma is the secret preview of that warm cake flavor.
- Cream the butters and sugars:
- Using an electric mixer, blend unsalted butter, granulated sugar, and brown sugar for 3-4 minutes until they're almost fluffy clouds and noticeably lighter in color.
- Incorporate eggs and vanilla:
- Add eggs one by one, pausing to scrape down the bowl; stir in the vanilla and watch as everything turns silky.
- Combine rosé and buttermilk:
- Pour the rosé and buttermilk together—it'll fizz a bit—and set aside to keep handy for the next step.
- Alternate the wet and dry:
- With your mixer on low, gently add the flour mix and the rosé-buttermilk in turns, always starting and ending with flour; a little pink food coloring now lets you control the blush.
- Bake the cakes:
- Divide batter evenly between pans, smoothing the tops—pop them in the oven and resist opening the door for at least 28 minutes, until a toothpick comes out clean.
- Cool completely:
- Let the cakes rest 10 minutes in their pans, then release and move to a rack to cool—to avoid tears in the frosting later on.
- Make the frosting:
- In a clean bowl, beat cream cheese and butter till creamy, then add confectioners' sugar, vanilla, and a pinch of salt until it's whipped and spreadable heaven.
- Assemble the cake:
- Frost between layers and cover the outside; use an offset spatula for swoops, then chill for 30 minutes to help everything set.
- Pour the gold drip:
- Melt white chocolate chips and cream gently, cool until just warm, then drip along the edge with a spoon and chill so the drips firm up perfectly.
- Paint it gold:
- Mix gold luster dust with vodka or lemon extract to make paint, and carefully brush only the drips for a magical finish.
- Decorate and serve:
- Top with edible flowers or gold leaf if desired, then slice and bask in the compliments—it’s ready for your celebration.
 Save
Save  Save
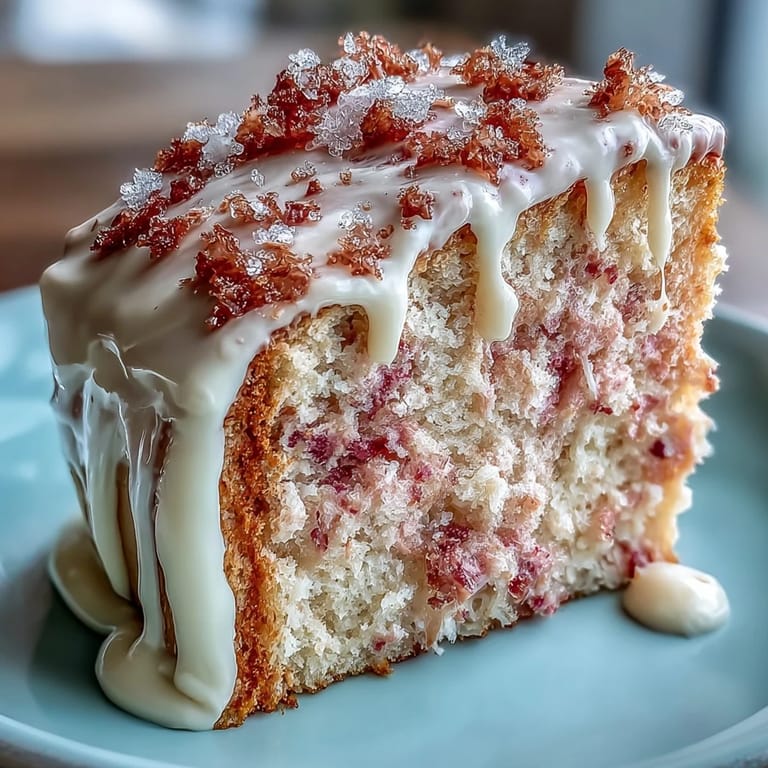
Save There was a moment when everyone gathered around the table, phones ready, and I caught my own smile reflected in a gold-painted drip. As the first slice was lifted, soft pink and white layers revealed, it felt like every bit of laughter and anticipation had been baked inside—and for once, not a crumb was left behind at the end of the day.
What Makes the Gold Drip Magical
Brushing the cooled white chocolate drip with edible gold is one of those surprisingly simple techniques that draws oohs and aahs every time. The key is a gentle hand and waiting until the ganache is completely set before painting, turning an ordinary cake into something worthy of its own spotlight. It's a step that’s both artistic and just a bit meditative as you trace each drip. The shimmer catches the light and brings a celebratory energy to the table—no advanced decorating skills needed. You can’t help but feel just a little proud when handing over a slice.
Frosting Troubleshooting and Triumphs
The first time I made cream cheese frosting for this cake, my kitchen was a flurry of sugar clouds and misplaced spatulas. I found out quickly that the frosting sets its mood based on the temperature—if the butter or cream cheese is too cold, you’re in for a workout and a lumpy finish. Too warm, and it can slide right down the sides mid-assembly. My happy accident trick: pop the frosted cake in the fridge for 15 minutes between layers, making the final coating smooth and photo-ready. Frosting truly became a moment of zen when I worked slowly and savored the transformation.
Celebration-Worthy Assembly Shortcuts
If you’re pressed for time, assemble the cake a day in advance—the flavors deepen, and the decorations set wonderfully overnight. Chilling the entire cake makes slicing neater and less stressful when guests are watching (no one ever minds waiting for a little unveiling). If a layer crumbles or frosting isn’t perfectly smooth, cover it up with a strategic swoop of frosting or a cluster of edible flowers; this cake forgives and hides many little kitchen secrets. Remember that nobody sees the back, and a bit of gold leaf looks impressive anywhere it lands.
- Use an offset spatula for even sides—it’s worth it.
- Reserve a little extra frosting for last-minute touch-ups.
- Don’t stress if your drips aren’t uniform; each one is delicious personality.
 Save
Save 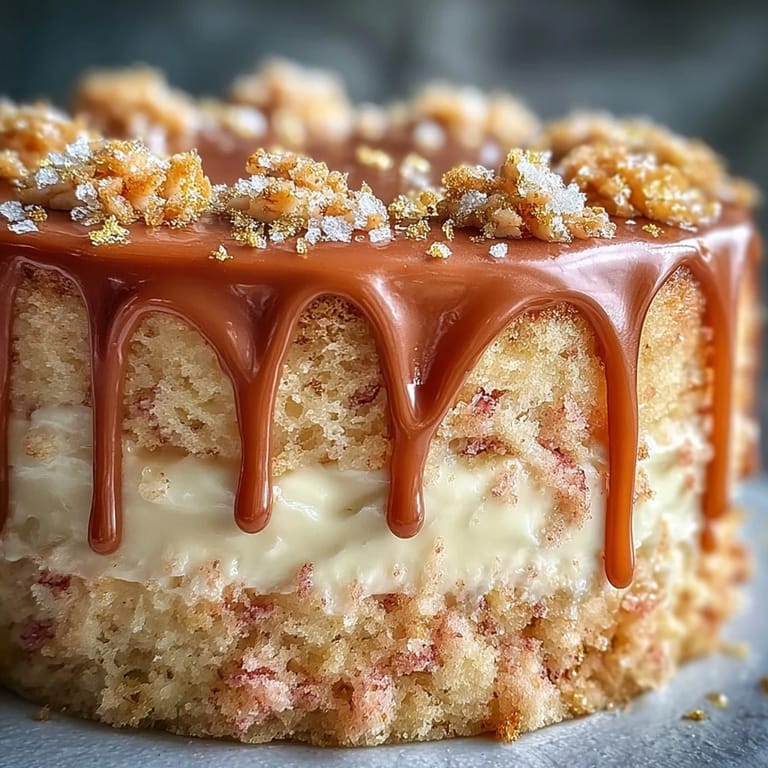 Save
Save I hope this cake helps you create lasting memories—may every slice sparkle with a bit of gold and laughter. Here’s to many more reasons to celebrate, big and small.
Recipe FAQs
- → How do I achieve an even pink color?
Add pink gel food coloring a little at a time until you reach the desired hue; gel gives stronger color without thinning the batter. For a subtler blush, omit color and lean on the rosé and cocoa combination, or use a tiny amount of beet powder for a natural tint.
- → Can I make this without alcohol?
Yes. Substitute equal parts pink grape juice or sparkling cider for the rosé. Taste the batter and reduce any additional sweeteners if the juice is very sweet. The flavor will remain fruity and aromatic without alcohol.
- → How do I get a stable cream cheese frosting?
Start with room-temperature cream cheese and butter, beat until smooth, then gradually add sifted confectioners' sugar. Chill the frosting briefly if it becomes too soft; chilling firms it for easier assembly and piping while maintaining a creamy texture.
- → What’s the best way to create a smooth gold drip?
Make a white chocolate ganache with warmed cream and chocolate, cool until slightly thickened but pourable, then spoon or pipe small amounts around the top edge to form drips. Once set, mix edible gold luster dust with a few drops of vodka or lemon extract and paint over the cooled drips for a polished metallic finish.
- → How should I stack and chill the layers for stability?
Level each cake layer, place a thin layer of frosting between tiers, and apply a crumb coat to seal crumbs. Chill the assembled cake for at least 30 minutes to firm the filling before smoothing the final coat and adding the drip—cold layers make cleaner edges and neater slices.
- → How long will the finished cake keep and how should I store it?
Because of the cream cheese frosting and dairy in the ganache, store the cake covered in the refrigerator for up to 3–4 days. Bring slices to room temperature for 20–30 minutes before serving for best texture and flavor.